
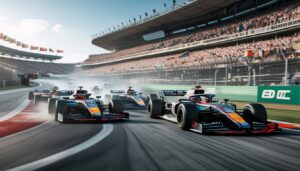

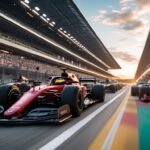
Prediksi Tim dan Pembalap Pemenang F1 Championship 2026: Analisis dan Tren Terbaru
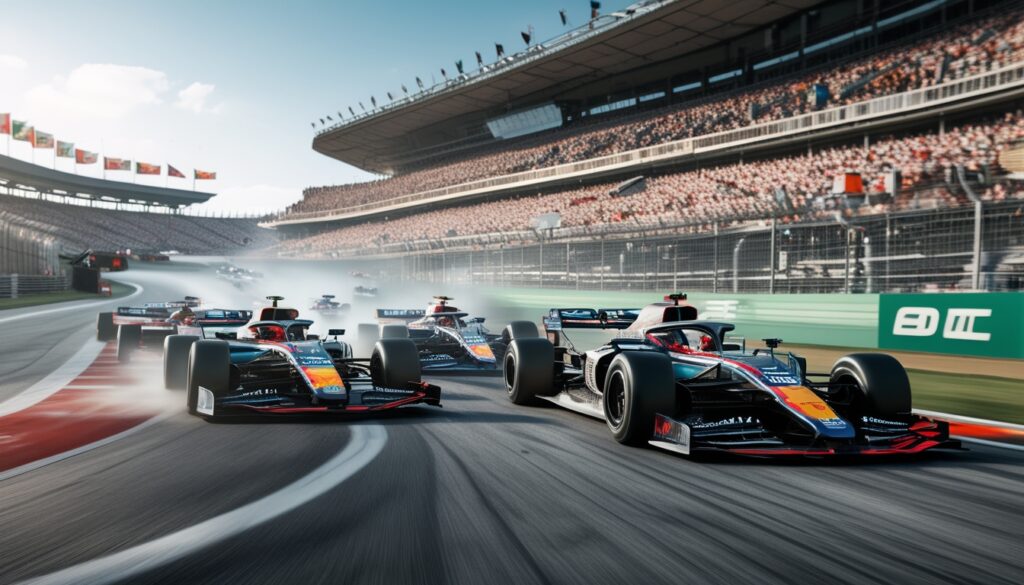
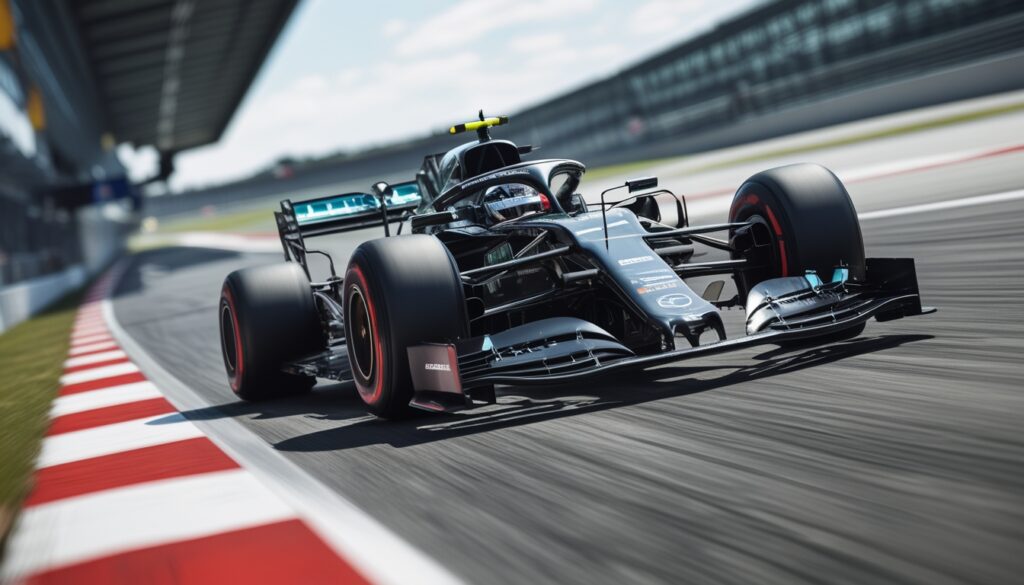
Pilihan untuk kejuaraan F1 2026 semakin menarik. Tim dan pembalap dengan peluang terbaik sudah mulai terlihat di jalur balap global....
 Prediksi Tim dan Pembalap Pemenang F1 Championship 2026: Analisis dan Tren Terbaru
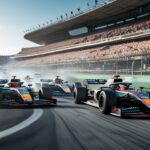 Analisis Lengkap Perebutan Gelar Kejuaraan F1 Terbaik 2026: Sorotan dan Rangkuman Musim Ini
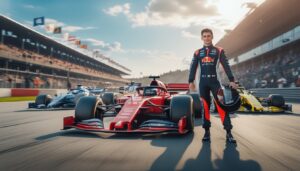
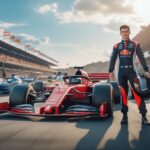 Daftar Pembalap Favorit Juara Kejuaraan F1 2026 Musim Ini dan Profil Mereka
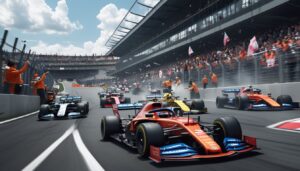
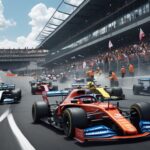 10 Momen Terbaik Kejuaraan F1 Tahun 2026 yang Paling Dramatis dan Tak Terlupakan
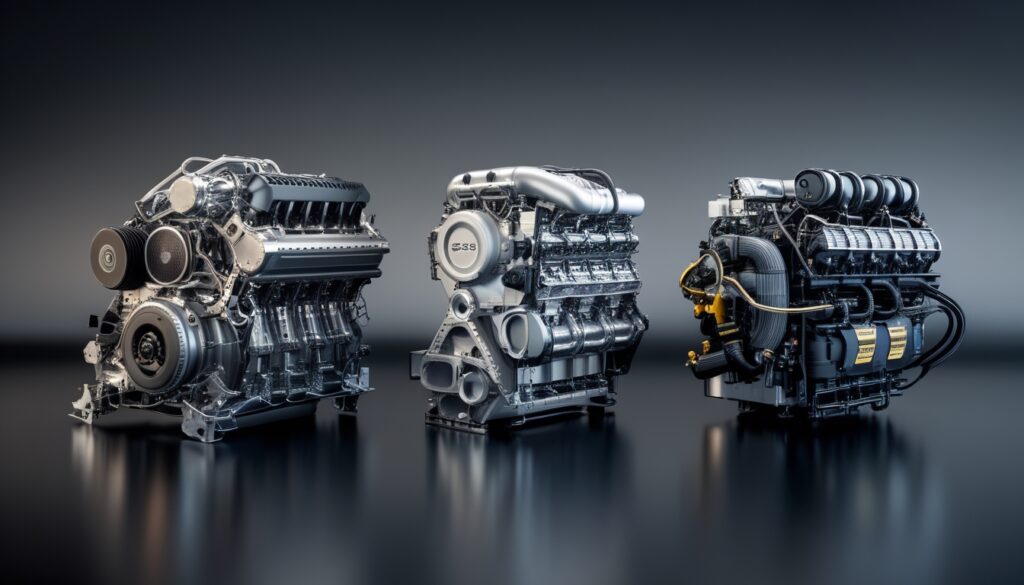
 Mesin F1 Terbaik untuk Pecinta Balap yang Ingin Tahu Teknologi Formula 1 Secara Mendalam
Pilihan untuk kejuaraan F1 2026 semakin menarik. Tim dan pembalap dengan peluang terbaik sudah mulai terlihat di jalur balap global....
Musim Formula 1 2026 telah menjadi arena perebutan gelar yang penuh tantangan dan persaingan ketat. Tim-tim papan atas telah menunjukkan...

Kejuaraan Formula 1 2026 menghadirkan banyak pembalap berbakat yang bersaing untuk meraih gelar juara. Daftar pembalap favorit tahun ini termasuk...
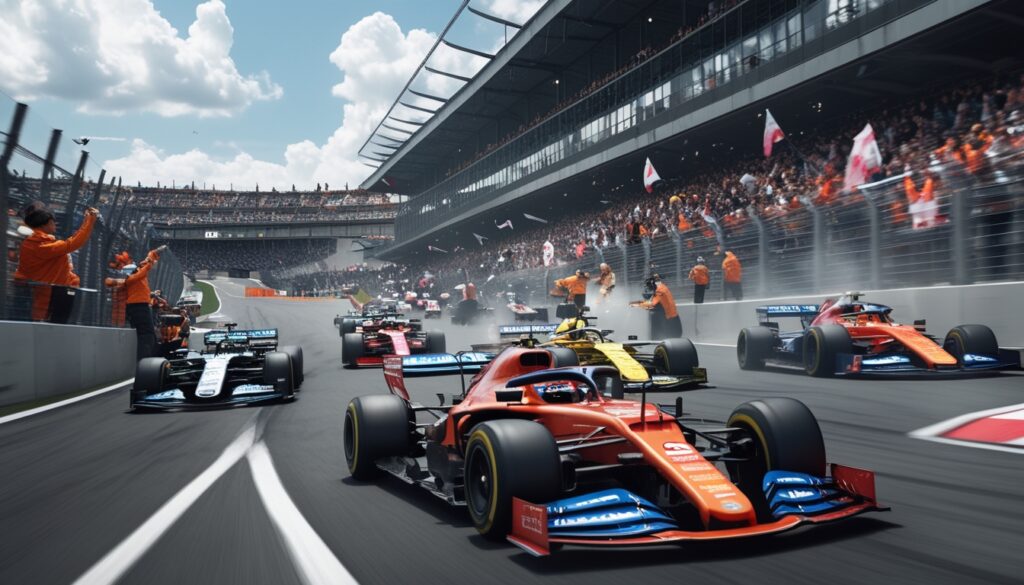
Kejuaraan F1 tahun 2026 telah menyajikan berbagai momen yang menggetarkan hati para penggemar. Balapan yang penuh dengan ketegangan, drama, dan...
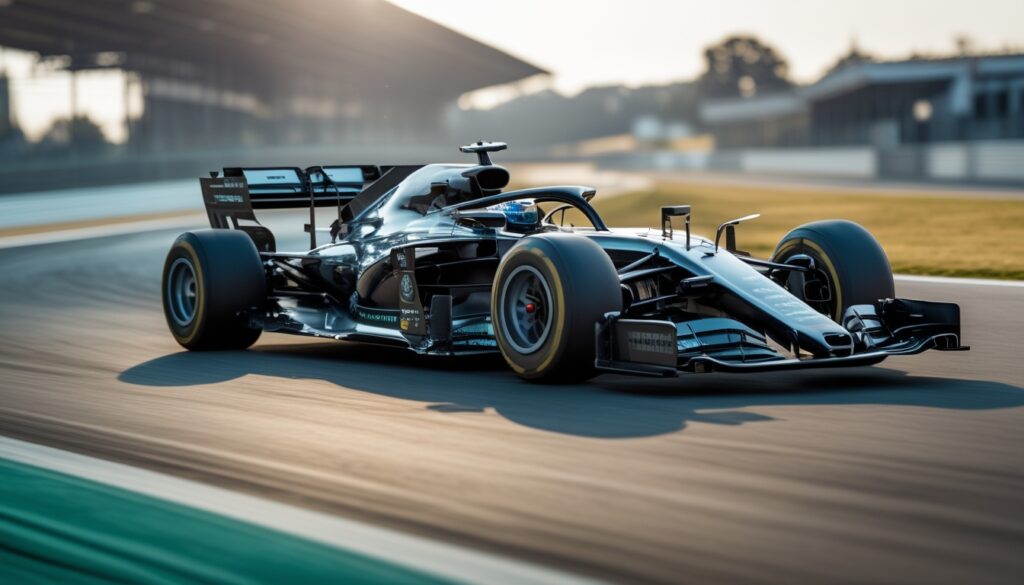
Menggali dunia balap Formula 1 tentu sangat menarik, terutama bagi penggemar teknologi mesin. Mesin F1 modern sangat maju dan menawarkan...
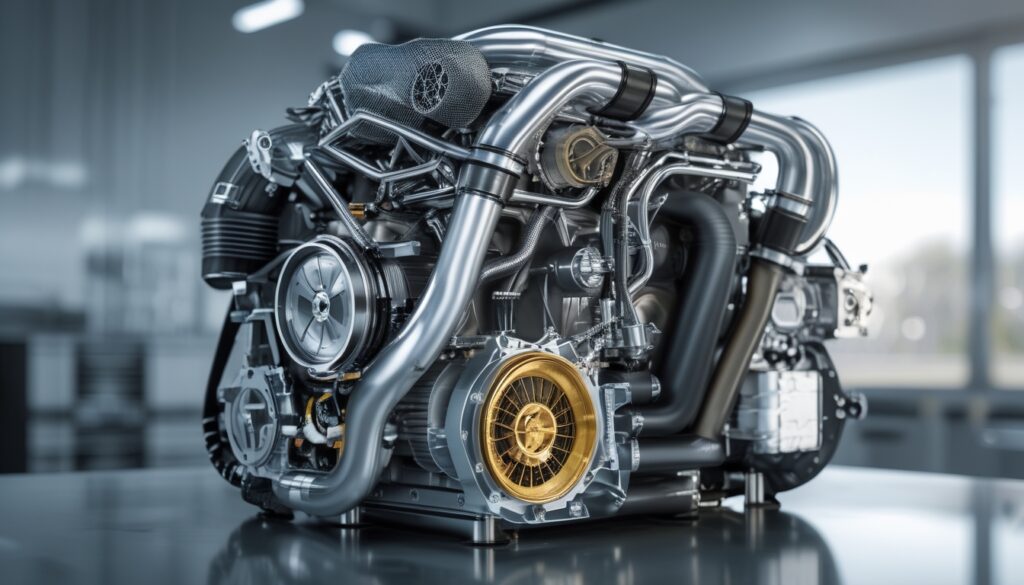
Mesin Formula 1 adalah jantung dari setiap mobil balap yang melaju di sirkuit. Mengenal mesin F1 terbaik yang mendominasi kejuaraan...
Mesin F1 telah menjadi ikon dalam dunia balap mobil. Artikel ini membahas mesin F1 terbaik sepanjang masa berdasarkan performa dan...
Mesin Formula 1 telah mengalami perubahan besar sepanjang sejarahnya. Dari kekuatan luar biasa mesin V10 hingga efisiensi yang ditawarkan oleh...
Mesin Formula 1 telah berevolusi menjadi salah satu contoh paling canggih dari teknologi otomotif. Inovasi yang terus-menerus dalam desain dan...
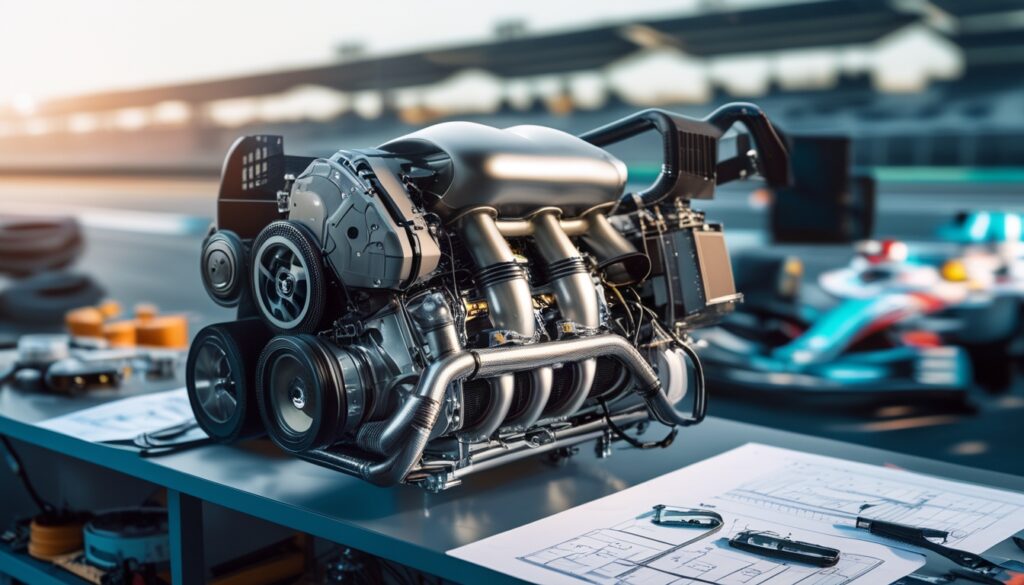
Dalam dunia Formula 1, mesin adalah jantung dari setiap mobil balap. Kehebatan mesin F1 terbaik yang pernah juara dunia terletak...